
Copy the Ground Floor Details
Available in: Architectural
The easiest way to start the first floor layout is to copy items from the ground floor. One method is to manually pick the items to copy one by one. Another way is to copy the entire ground floor and then delete the items that are not required. A third way and the one we will use is to turn off layers containing items that are not required.
Select the  Layers button to display the layers dialog box below. Note the colours for each of the layers maybe different to your settings.
Here we need to turn off the layers that contain information not required on the first floor by removing the tick from the column headed by the  icon. In the majority of cases the symbol selected from a library will be automatically inserted onto a particular layer. For example, cookers, fridges on the 'appliance' layer, sofas onto the 'furniture' layer etc.
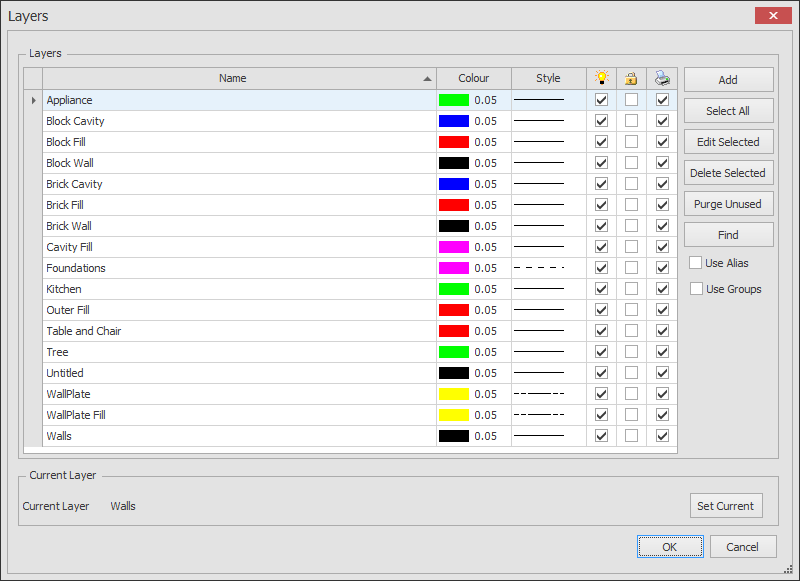
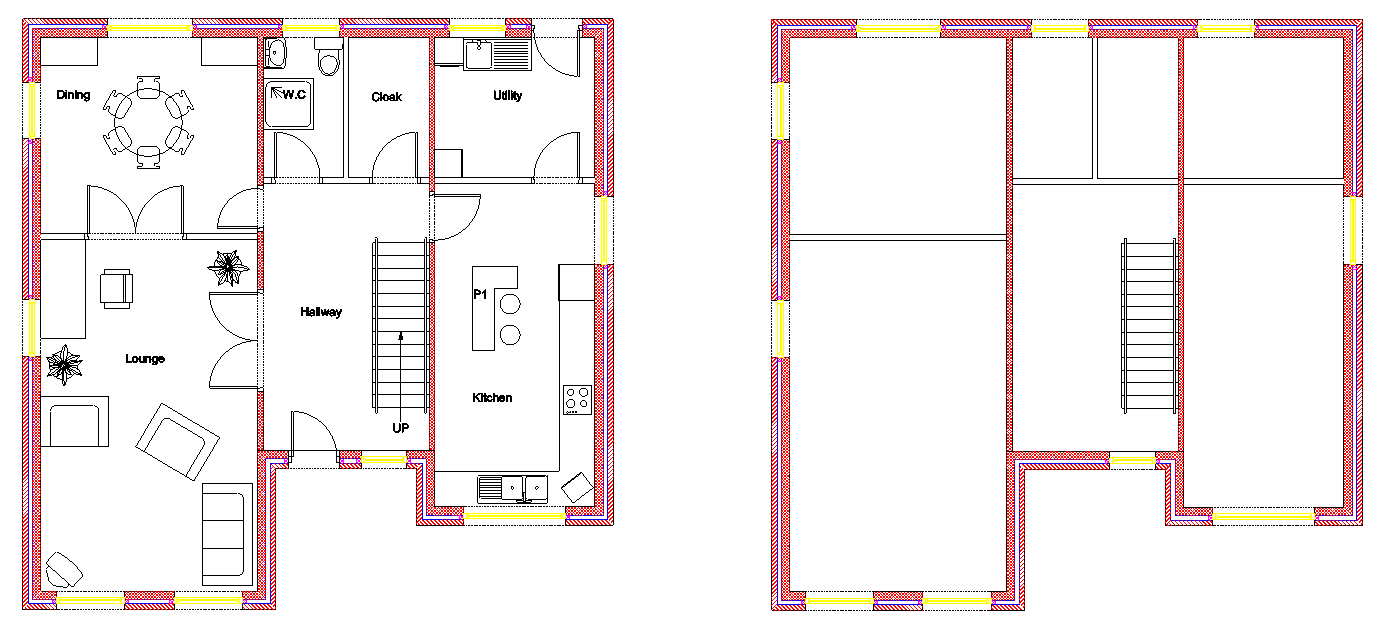
Turn off the appropriate layers and click 'OK', the floor plan will be updated and should as shown below. If some items are on the wrong layer, simply select them and click on the layer they should be on in the layer drop down list. See Change the layer of an item.
Note: If you used the  Line command to draw the kitchen work surfaces, these will probably still be displayed (depending on the layer they were drawn on). Don't worry about these for now.
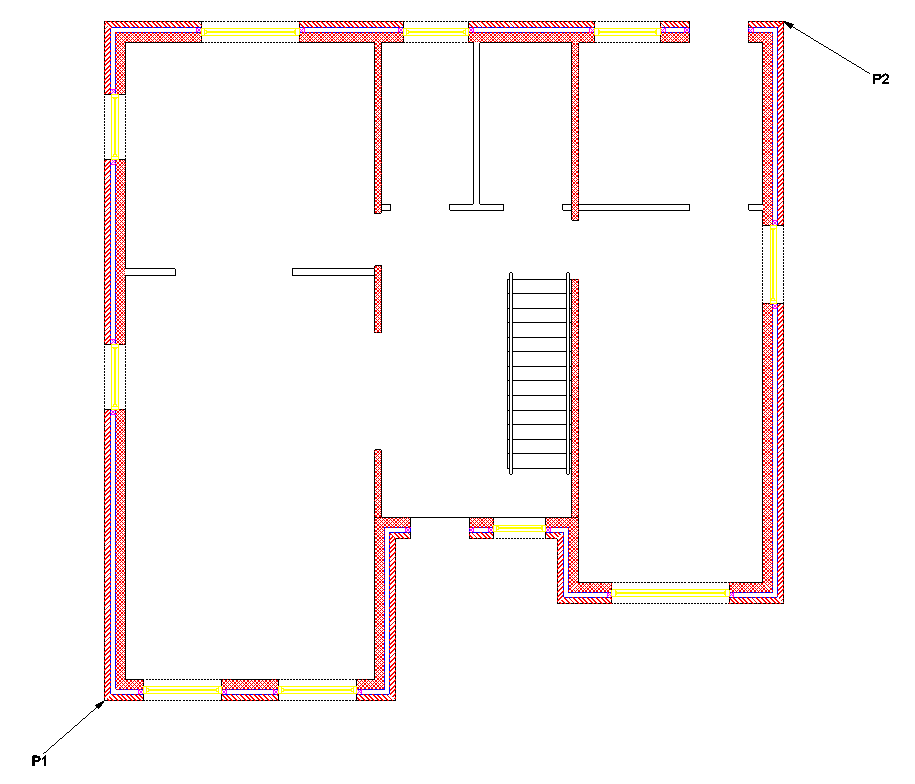
We will now copy the entities displayed and use them as the basis for the first floor.
Left-click and hold down the mouse button when the cursor is approximately over 'P1' above, then drag the cursor to 'P2' and release the mouse button. This should select all of the entities displayed as shown below.
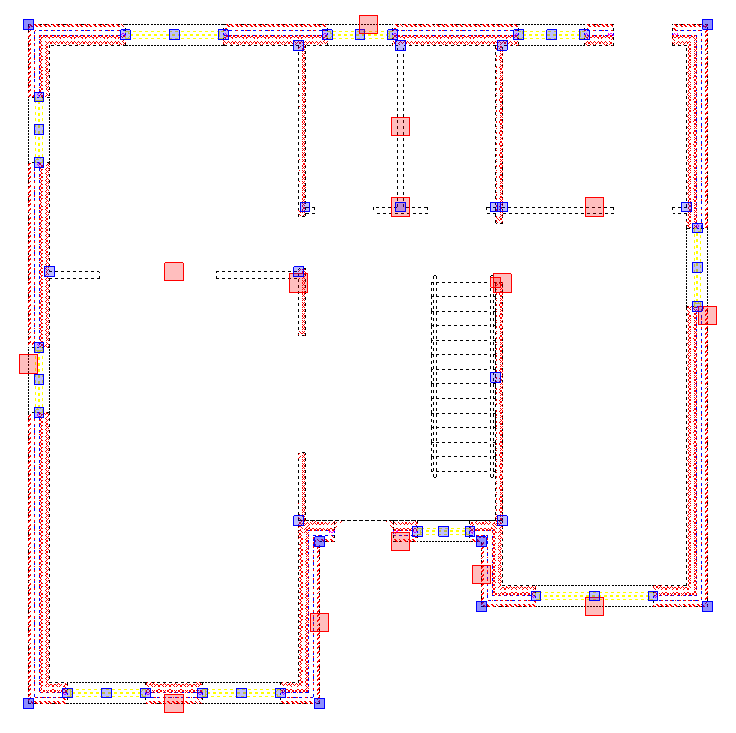
Now select the  copy button and click on the 'End' point
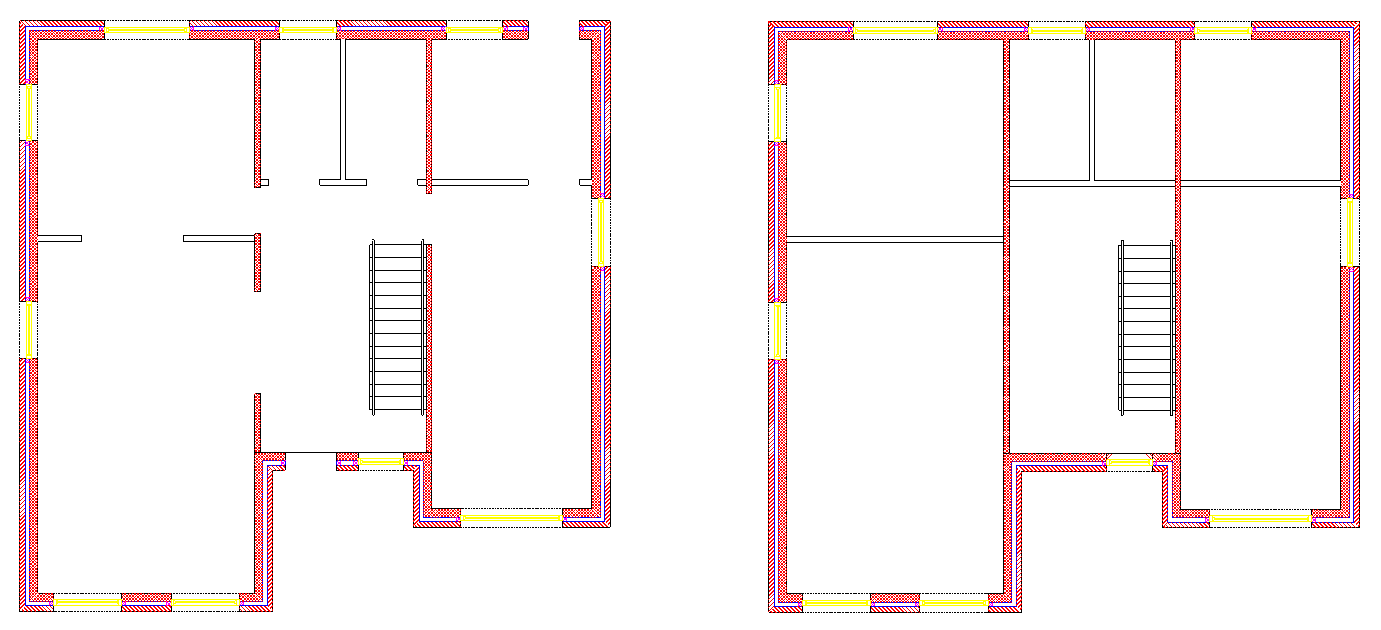
  at the lower left corner of the layout, this is the reference point for the copy. Now hold down the
  key and drag the cursor to the right. Click to position the first floor layout as shown below. You will notice that as we did not copy the doors the walls have automatically been repaired.
Return to the Layers dialog box and click on the 'Select All' button and all of the layers in the list will be highlighted (blue).
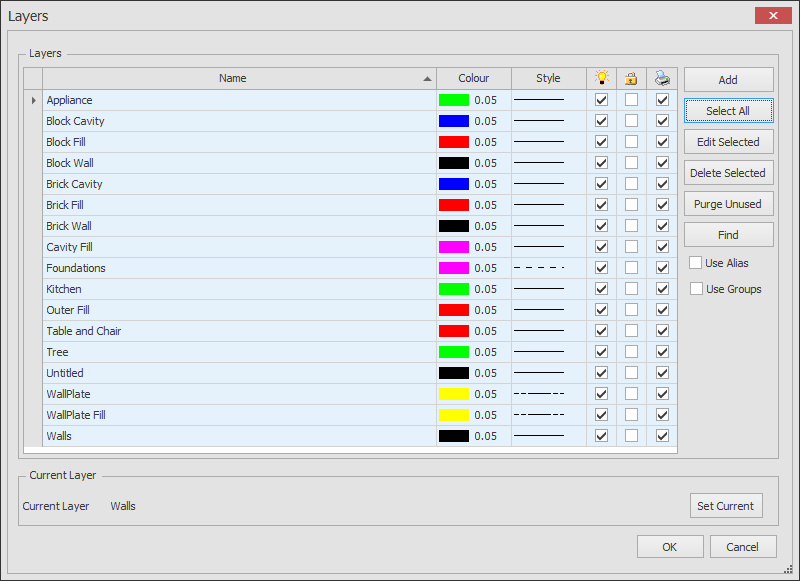
Click on one of the empty boxes in the column to turn all of the layers on, then click OK.
Hold down the key and click on each of the 'Kitchen work surface lines'. Once they are all selected press  .
.