Draft it Help System
The complete Help system for Draft it is available on these pages.
Available in: Architectural
Use this command to add horizontal flashing to a roof.
Select the Horizontal Flashing button
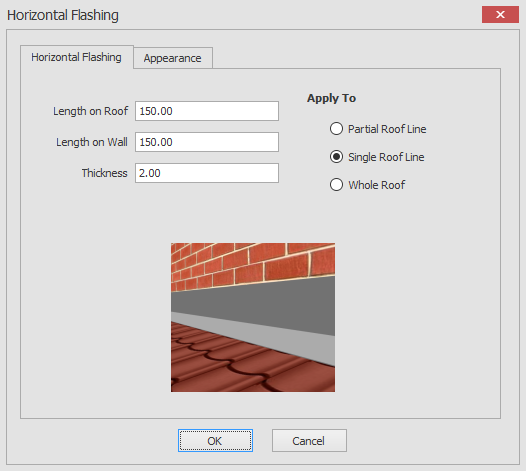
 and the following dialog box appears.

Here you can choose the length on roof, length on wall and thickness of the horizontal flashing.
When you click on the OK button the way that you add the horizontal flashing will depend on your 'Apply To' choice as you will see in the descriptions below.
Whole Roof:
If whole roof is selected then after clicking on the OK button you will be prompted to 'Give Roof',
all you need to do is hover over a roof in your drawing and you will see a dynamic representation of how this action will complete if confirmed.
Clicking on the left mouse button will confirm your selection.
Single Roof Line:
If single roof line is selected then after clicking on the OK button you will be prompted to 'Add Horizontal Flashing',
all you need to do is hover over a line of the roof in your drawing and you will see a dynamic representation of how this action will complete if confirmed.
Clicking on the left mouse button will confirm your selection.
Partial Roof Line:
If partial roof line is selected then after clicking on the OK button you will be prompted to 'Add Horizontal Flashing',
all you need to do next is to choose the roof line you would like the horizontal flashing to be placed on and a start and end point on the chosen roof line.
You will then see a dynamic representation of how this action will complete if confirmed.
Clicking on the left mouse button will confirm your selection.
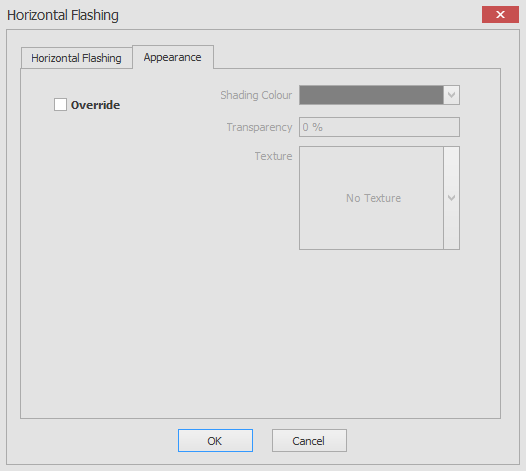
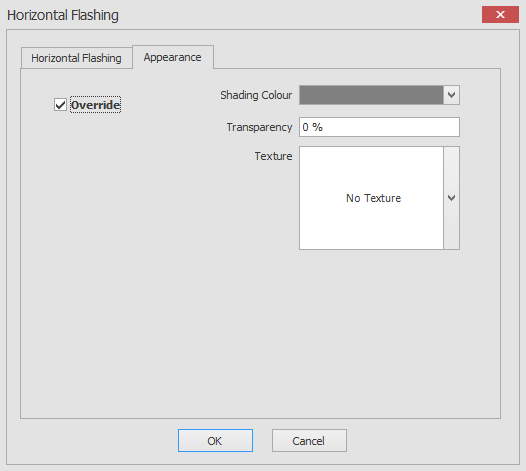
You also have the option to override the default horizontal flashing appearance using the appearance tab as in the screen shots below.


To override the horizontal flashing appearance just click on the Override check box and you will then have the ability to alter the shading colour, transparency and texture for the horizontal flashing.
