
Add Downpipe
Available in: Architectural
Use this command to add a downpipe to a roof.
Select the Add Downpipe button  and the following dialog box appears.
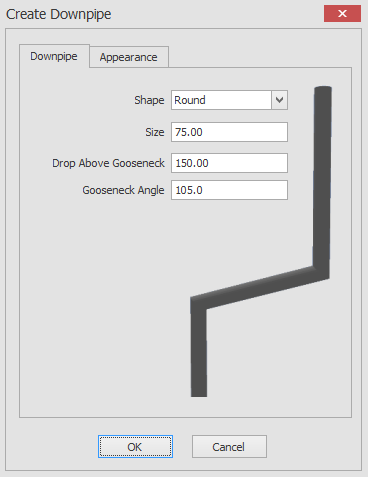
Here you can choose the shape of the downpipe e.g square or round, the size of the pipe, the drop above the gooseneck and the angle of the gooseneck.
When you click on the OK button you will be prompted to 'Give Gutter Connection Position' now you can select a position on the guttering for the downpipe to connect to.
The next prompt will be to 'Give Gooseneck Position', now you can select a point where the next drop of the downpipe will be.
Once you have selected the gooseneck position you can either select another gooseneck position or press the escape  key to finish adding your downpipe.
You also have the option to override the default downpipe appearance using the appearance tab as in the screen shots below.

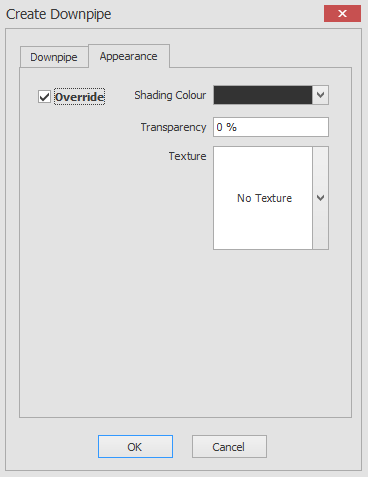
To override the downpipe appearance just click on the Override check box and you will then have the ability to alter the shading colour, transparency and texture for the downpipe.