Customise Toolbar
Available in: Pro, Architectural
Select the Customise Toolbar button  and the following dialog box is displayed.
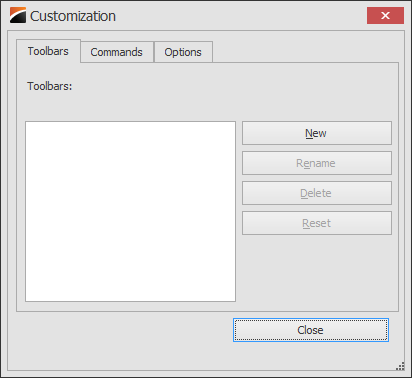
Any existing Toolbars are displayed in the Window. Here we have no toolbars so clicking on 'New' creates a new toolbar and you can enter a name in the box that appears. Once done the toolbar is added to the list below. You can have any number of toolbars and these can be switched on/off (shown below) as required.
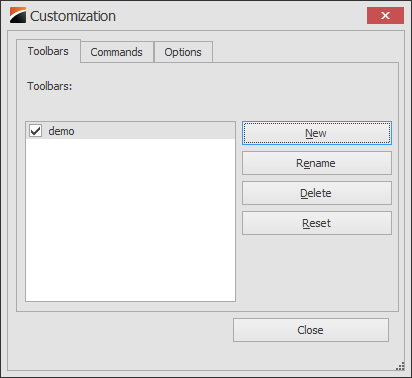
You can see the new toolbar has been created (highlighted below).
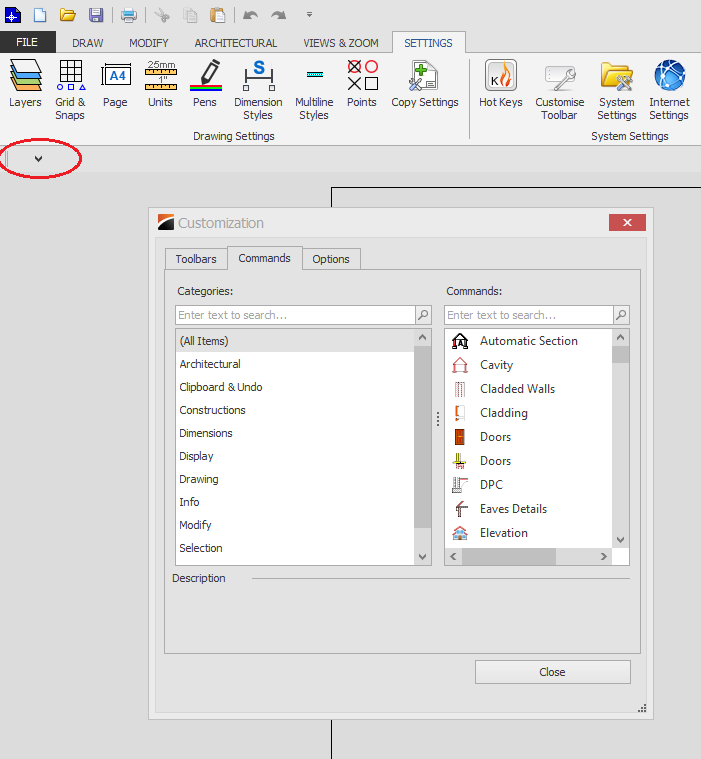
Select the category on the left and then click and hold the left mouse button on the command to add to the toolbar. With the mouse button still down drag it over to the toolbar until a small '+' symbol is displayed next to the cursor indicating that the button can be placed there. Release the button to complete the operation. Repeat the process dragging buttons from the required categories to the toolbar. To remove a button from a toolbar just click and hold the left mouse button on the button to remove and then drag across and release anywhere on the 'Customise Toolbar' dialog box. Once you have all of the required buttons click 'close'. the toolbar is automatically saved.
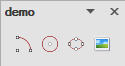
 (example)
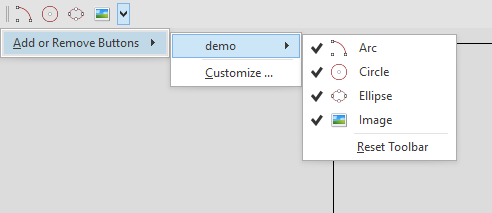
Any toolbar can be accessed to edit via the Customise Toolbar button. Another method is to click on the small down arrow on the right hand end of the toolbar (see below). Clicking this displays the 'Add or Remove Buttons' option, selecting this shows the toolbar name and then to the right of this a list of the buttons which individual buttons which can be switched on/off by simply clicking on them. Please note that switching a button off does not permanently remove the button from the toolbar.
'Reset Toolbar' returns the toolbar to its original pre-edited state.
'Customise ...' opens the main 'Customise Toolbar' function.
On the left hand side of the toolbar there is a 'handle' which is used to reposition the toolbar. Click and hold the left mouse button down and move to the new position. This allows the toolbar to be 'docked' to the top, bottom, left or right hand side of the drawing area. Below the toolbar is docked to the left hand edge for example.
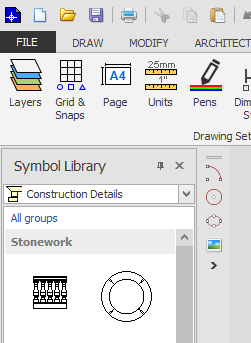
The toolbar can also be 'un docked' and positioned as required, When 'un docked' the toolbar title is displayed if the toolbar width is sufficiently wide (see below).