Draft it Help System
The complete Help system for Draft it is available on these pages.
Available in: Plus, Pro Architectural
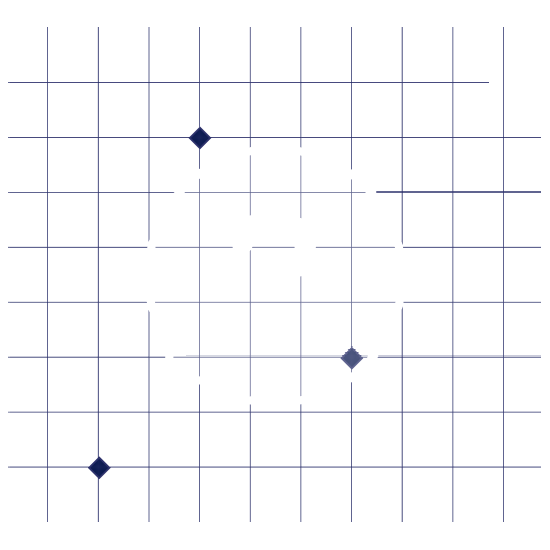
When an ellipse is selected its entity handles are displayed. Once you have selected the ellipse the editing choices are to either Delete, modify the properties using the Properties Explorer or the Ribbon, or to move one of the entity handles.
An ellipse has five entity handles (you will only see four initially). As created these handles are positioned;- one at its centre (red) (H1), one at the major axis point (blue)(H2), another defining the minor axis length (H3)(90° CCW from the major axis), the other two (H4, H5) are on the opposite side of the ellipse and control the start and endpoint's, they are created opposite so that the minor axis/start angle/end angle can be altered independently. An ellipse is drawn in CCW direction.
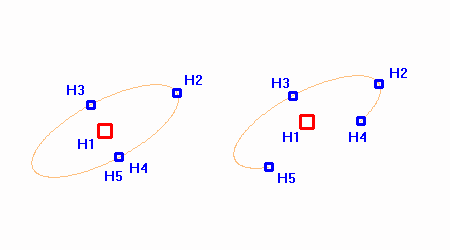
Move the cursor over any of the handles and its colour changes to yellow then simply click to select it. If selected the major handle (red)(H1) attaches the whole ellipse to the cursor allowing it to be moved to a new position and clicked into place using any of the snaps and input options. Similarly the other handles (H2-H5) can be selected and moved to a new position changing the ellipse geometry as follows:
Select H2 to change the Major axis length, select H3 to change the Minor axis length. H4 and H5 minor handles define the start and end angles of the ellipse.
In addition to the above when a Ellipse is selected further editing options are available (below) when the middle mouse button (wheel) is pressed.
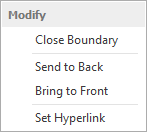
Send to Back/Front - Use these options to move the Ellipse backwards or forwards in the drawing order.
This is useful when trying to position the Ellipse in front of or behind other entities.
Set Hyperlink - A Hyperlink can be added to the Ellipse. When selected use the dialog box that appears to set the required URL/link.